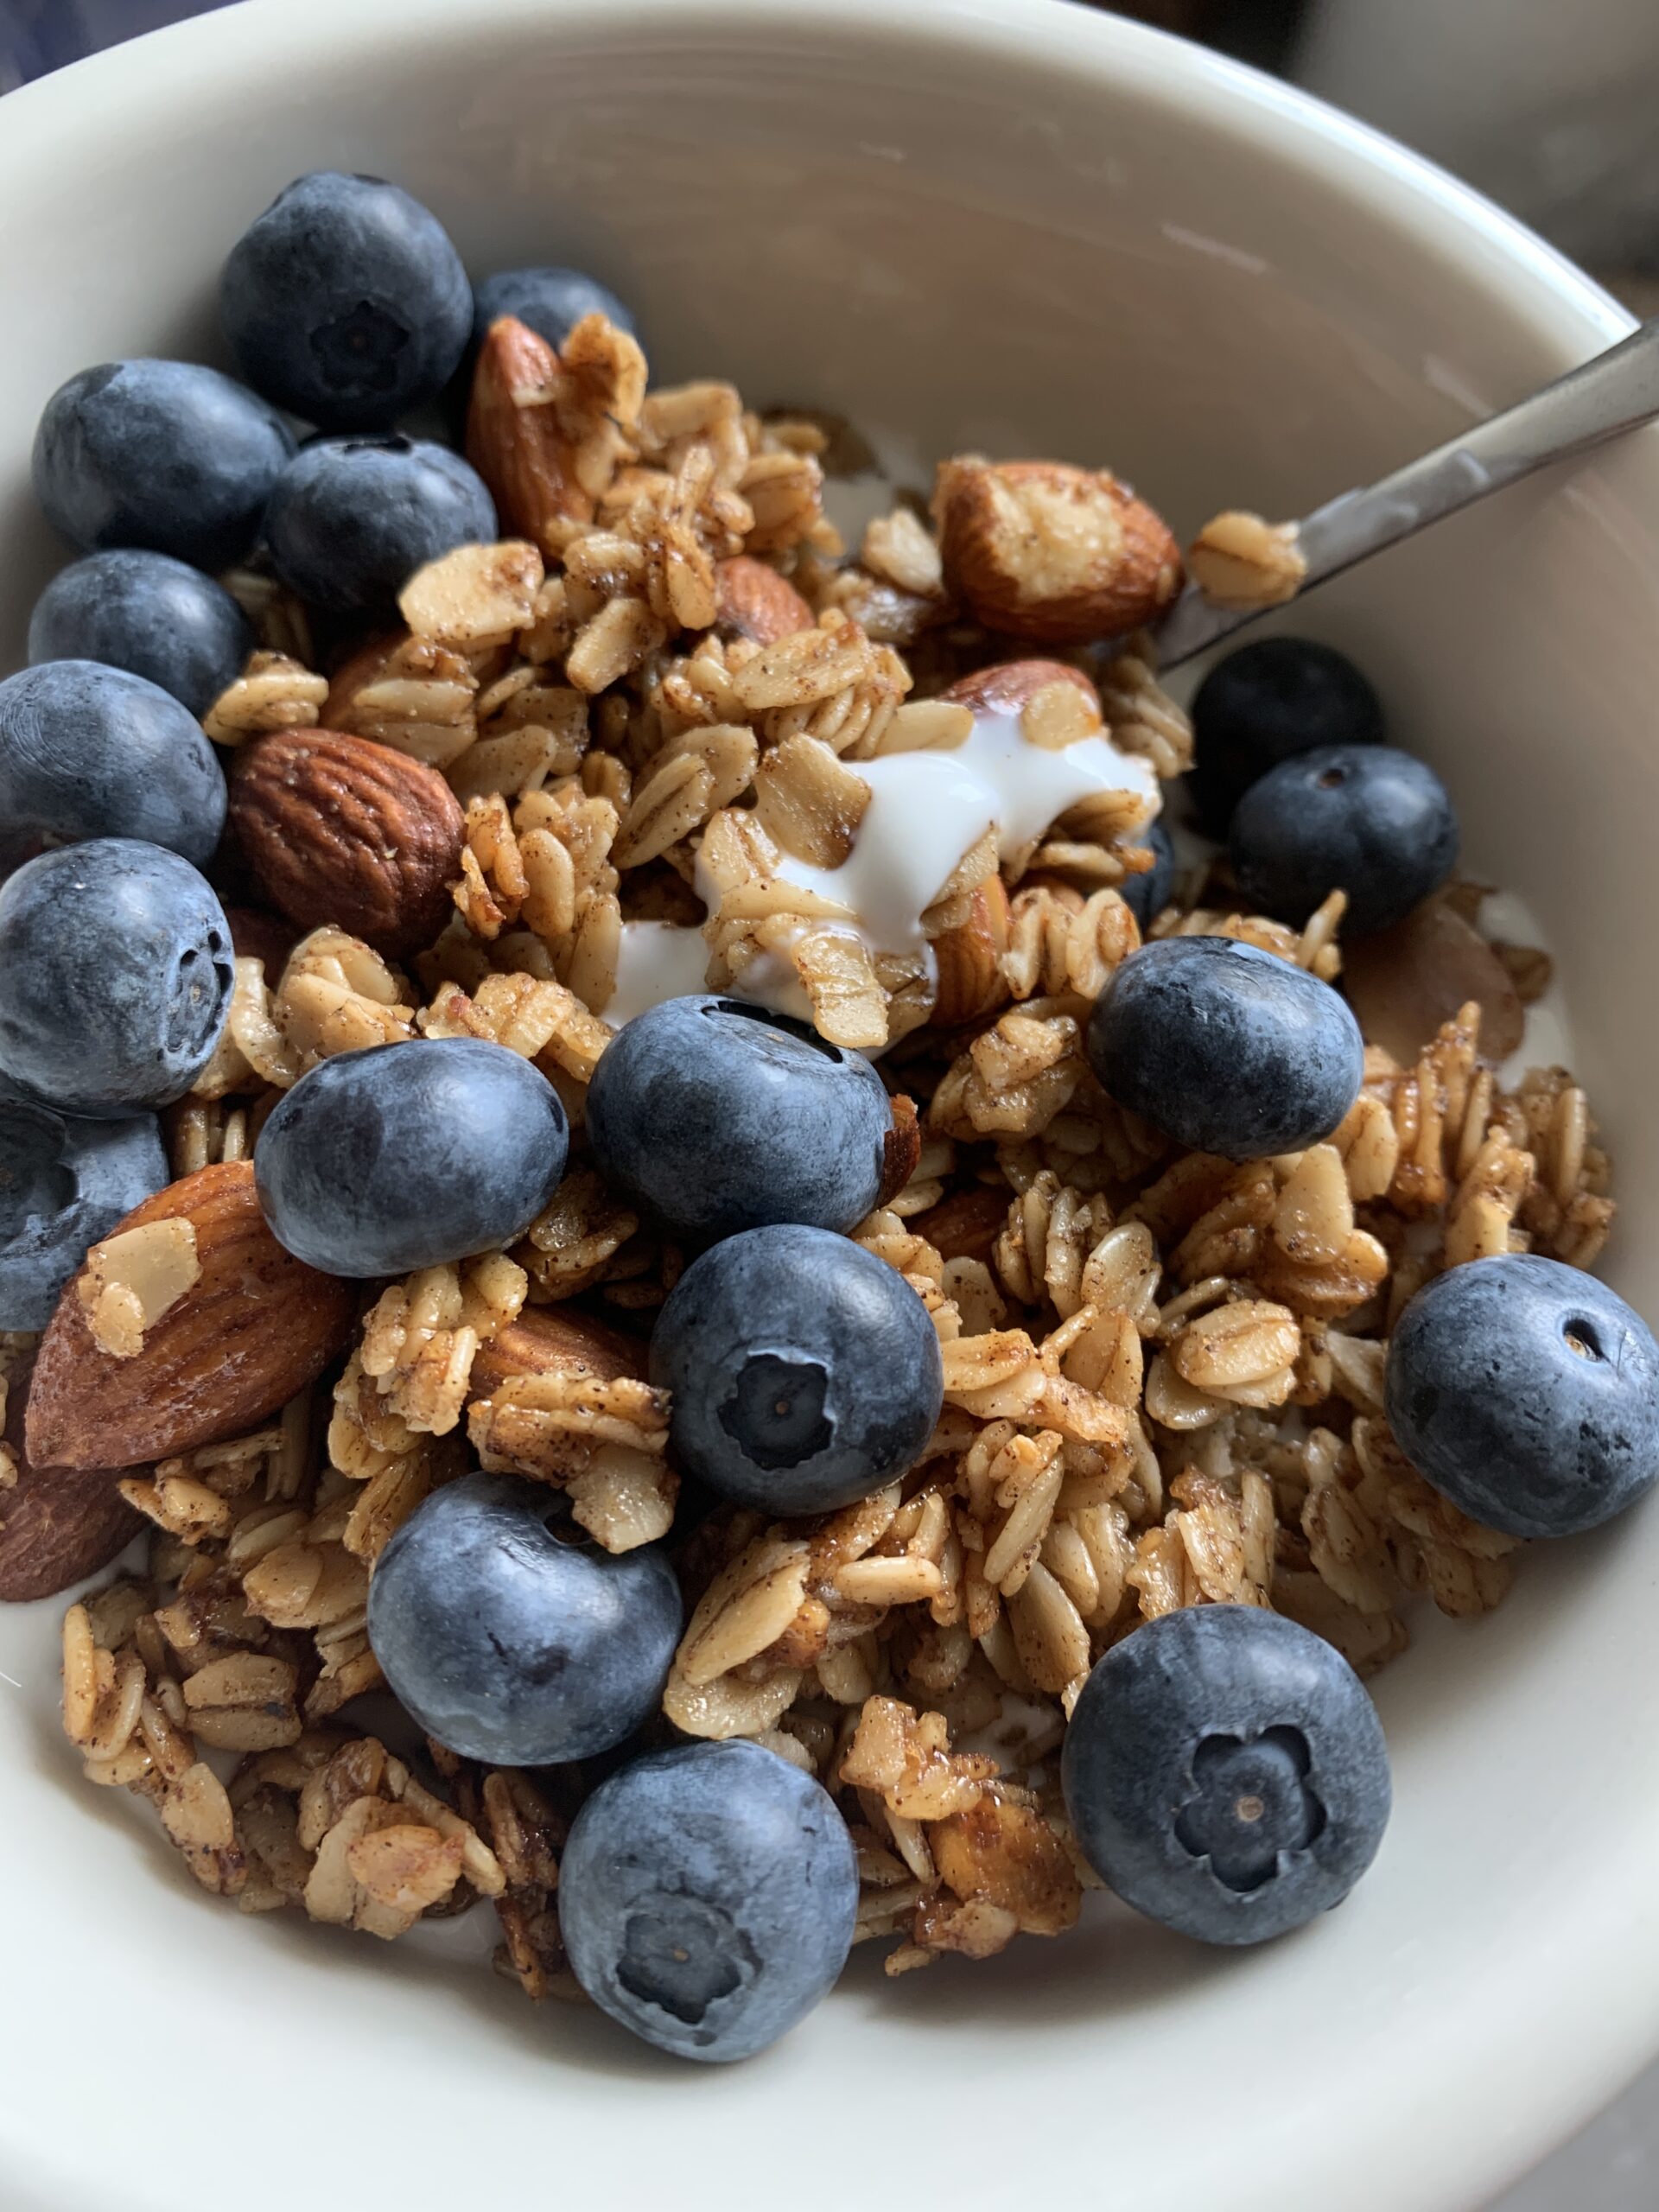
I posted a(nother) photo of my customary lunch granola yesterday and someone commented, “Care to share?”
Well, sure.
Jump to RecipeA while back I decided to toss out most of the modern hOw tO MaKE yOuR auThoR WebSiTe advice and return to my roots. My roots being print zines back in my punk youth days and LiveJournal during my angsty college days.
In other words, blog whatever you want! I’m not a food blogger, I’m a writer who loves food, but that won’t stop me from sharing a recipe here and there. Who cares if it’s unrelated to the books I want people to read?
Anyway, yogurt and granola has been my go-to lunch since I quit my full-time job back in 2013. It’s delicious but also super fast and easy. Sometimes, and especially when I’m writing, I get in the zone and wait too long before eating lunch. No bueno! Yogurt and granola gives me a nice balance of carbs, fat, protein, and fiber to get back on track.
I make my own (plain, whole milk) yogurt and granola for a variety of reasons. Among them: health, taste preferences, dietary restrictions, and cost. My granola recipe descends from a lovely friend who shared her recipe with me in college. It was junior or senior year, when a few of us lived in a slummy off-campus apartment we absolutely adored (most of the time). My friend Megan had married young and had fond memories of making homemade granola during her and her husband’s first year together.
I’ve made changes over the years and paid it forward by sharing my recipe with my best friend, my mom, and anyone else who asks.
Pro tips:
- Stirring the granola at 10-15 minute intervals during cooling will keep it from all sticking together and make it easier to put away.
- You can substitute other neutral oils for the canola oil if you like. My dad recently told me I should be using more cold-pressed oils because they have more nutrients.
- You shouldn’t, however, substitute for the honey. Other syrupy sweeteners like maple syrup may seem similar but they have a higher water content which will affect the final texture of the granola.
- Feel free to make it a little different every time! My most recent batch has a 50/50 mix of almonds and macadamia nuts. It’s also delicious with pecans. Sometimes I toss in some unsweetened coconut (flakes or shredded, whatever I have around). Chia and pumpkin seeds make great additions too.
- Look, I’m not big on precise measuring. Sometimes I put more nuts and seeds and stuff in than the recipe calls for. If I push it too much, I will add a little more oil and honey. You want to be sure the oats don’t have dry spots.
Topping suggestions:
- Sliced bananas
- Fresh berries
- Peanut butter
- Bittersweet chocolate chips
- Chunks of apple or stone fruit
Enjoy! If you make your own version, I’d love to hear how it goes in the comments. And of course, if you share it with anyone else, make sure you tell them it came from this cool author you found on the internet and whose books they should totally buy at their local indie shop.

Jaclyn’s Granola
Ingredients
Equipment
Method
- Preheat oven to 350 degrees. Use convection mode if you have it. Line the baking sheet with parchment.
- Combine dry ingredients in a large mixing bowl.
- Pour oil, then honey into measuring cup. Dump onto dry ingredients and stir with a big spoon until there are no dry spots on the oats and everything seems evenly combined.
- Spread granola in an even layer on the baking sheet and put in center of oven.
- Bake for around 27 minutes, stirring every 9 minutes, or until granola is golden-brown and toasty. You will want to adjust baking time based on your oven and your personal preferences.
- Cool completely on the baking sheet, stirring occasionally to break up large chunks and prevent sticking, before storing in an airtight container.
Leave a Reply